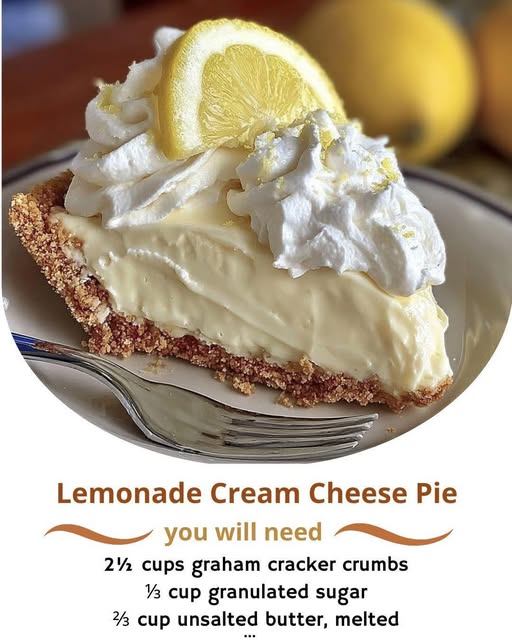
Lemonade Cream Cheese Pie A tangy yet creamy
This Lemonade Cream Cheese Pie is the ultimate “emergency dessert” for hot days. It strikes the perfect balance between a rich, velvety cheesecake and a tart, refreshing frozen treat. Because it requires zero oven time (if you use a store-bought crust), it is a favorite for summer potlucks where you want maximum “wow” factor with minimum effort.
The secret is the citrus-infusion method: the acid in the lemonade concentrate actually helps “set” the cream cheese, creating a stable, mousse-like texture that slices perfectly every time.
Why This Recipe is a Summer Essential
- No-Bake Ease: No need to heat up the kitchen; the refrigerator does all the work.
- The “Zing”: Unlike standard cheesecakes which can be heavy, the lemonade concentrate provides a bright, acidic lift.
- Make-Ahead Friendly: This pie actually tastes better after 24 hours, making it perfect for party prep.
Recipe: The Refreshing Lemonade Cream Cheese Pie
The Crust
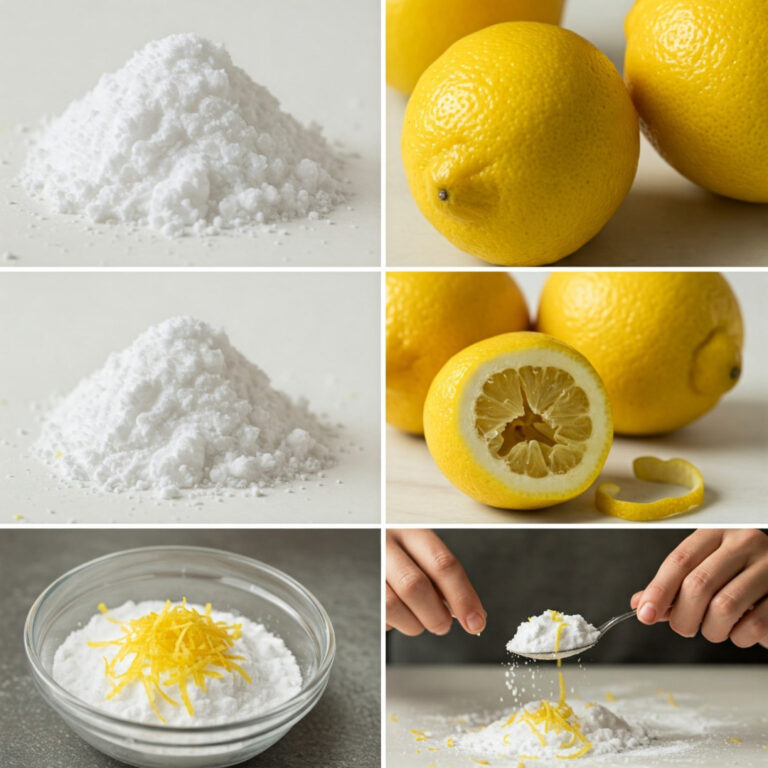
- 2 ½ cups Graham Cracker Crumbs.
- 1/2 cup Unsalted Butter, melted.
- 1/4 cup Sugar.
- (Note: You can substitute with a pre-made 9-inch graham cracker crust to save time).
The Filling
- 1 pkg (8 oz) Cream Cheese, softened to room temperature.
- 1 can (14 oz) Sweetened Condensed Milk.
- 1 can (6 oz) Frozen Lemonade Concentrate, thawed (use the small can).
- 1 container (8 oz) Whipped Topping (like Cool Whip), thawed.
- Optional: Yellow food coloring (1 drop) for a “sunny” look.
Step-by-Step Instructions
1. The Foundation
In a medium bowl, combine the graham cracker crumbs, melted butter, and sugar. Press the mixture firmly into the bottom and up the sides of a 9-inch pie plate. Chill in the freezer for 15 minutes to set.
2. The Creamy Base
In a large mixing bowl, beat the softened cream cheese until smooth and fluffy. This is crucial—if the cream cheese is cold, you will have lumps in your pie.
3. The Lemonade Infusion
Gradually beat in the sweetened condensed milk and the thawed lemonade concentrate. Mix on medium speed until the batter is glossy and uniform.
4. The “Fold”
Using a rubber spatula, gently fold in the whipped topping. Do not use a mixer for this part! You want to keep the air in the whipped topping to ensure the pie is light and “cloud-like.”
5. The Chill (The “Deep Freeze”)
Pour the filling into the prepared crust. Smooth the top with your spatula. Refrigerate for at least 4 hours, but for the best “sliceable” results, freeze it for 2 hours and then move it to the fridge.
Texture Comparison: Fridge vs. Freezer
| Storage Method | Texture | Best For… |
| Refrigerated | Soft, mousse-like, creamy. | Elegant dinner parties. |
| Frozen | Firm, sorbet-like, “ice cream” feel. | Backyard BBQs and kids’ parties. |
3 Ways to “Dress It Up”
- The Berry Burst: Top the pie with fresh raspberries or a blueberry compote right before serving. The tart berries complement the sweet lemonade perfectly.
- The Zest Factor: Grate fresh lemon zest over the top of the pie. The oils in the zest provide a fragrant aroma that the frozen concentrate lacks.
- The Whipped Border: Pipe extra whipped cream around the edges and garnish with thin, half-moon slices of fresh lemon.
The Verdict: This pie tastes like a “frozen lemonade” from a summer fair but with the luxury of a French tart. It’s the kind of recipe people ask for after just one bite.